What to Do When Your Samsung S25 Ultra S Pen Is Not Recognized?
“An old issue on a new device.” This is what Samsung Galaxy users say when it comes to connectivity issues with the S Pen. It has happened before and is still happening today. Although connectivity issues with the S Pen can occur often without warning, this problem has become relevant now that the S Pen no longer relies on Bluetooth functionality, starting with the S25 series.
If your S Pen is suddenly not recognized while you’re in the middle of important tasks, don’t worry. We sympathize with how much of a hassle it is. Thankfully, troubleshooting is usually straightforward and doesn’t have to be complicated.
In this blog, we’ll explore the Samsung S25 Ultra S Pen not recognized problems, their causes, and what fixes we can do to solve this issue.
Table of Content
Why Is the Samsung S25 Ultra S Pen Not Recognized: 8 Potential Causes

One known and quite familiar reason the Samsung S25 Ultra does not recognize the S Pen is that magnetic interference from accessories (like magnetic cases) can disrupt how it should normally function. It’s safe to say that the S pen doesn’t like magnetic cases in general and other internal or external factors that cause it to malfunction.
Furthermore, issues like outdated software and physical obstructions on the screen can prevent the S Pen from being appropriately recognized. Let’s go deep into eight potential causes of the Samsung S25 Ultra S Pen not being recognized and how to address this age-old problem effectively.
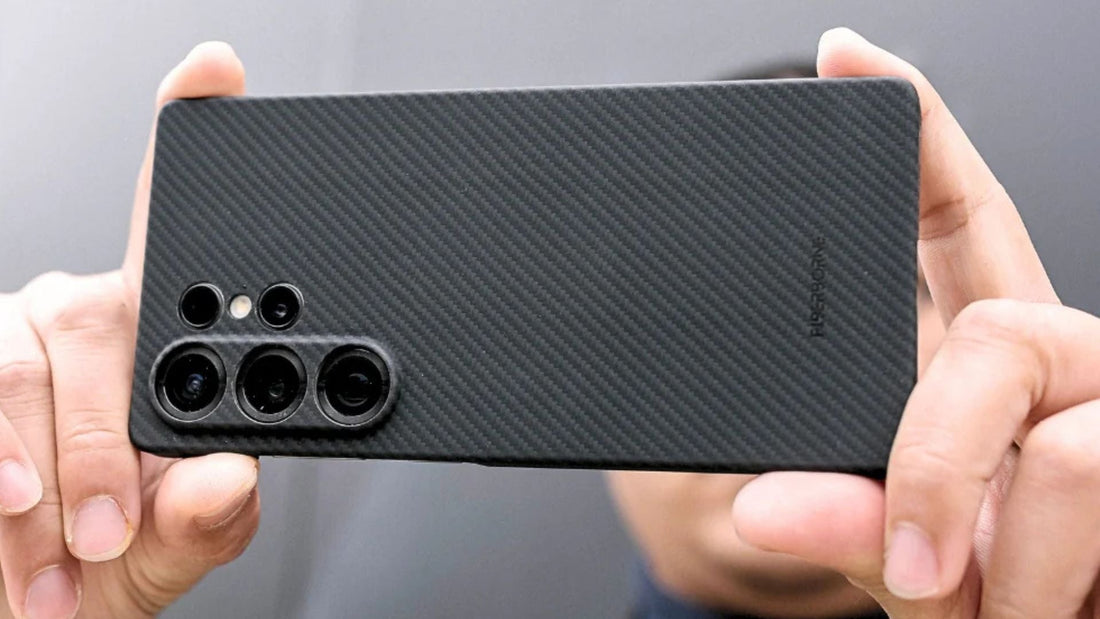
🛒 Buyer Guide: Our Samsung S25 Ultra aramid fiber case works just fine with the S Pen. It won’t cause any interference, nor would it hinder how the S Pen should function. It’s made with aramid fiber, which won’t block any intended functions, and can also protect your S25 Ultra from minor drops and scratches.
1. Dirty or Damaged S Pen Tip
A worn-out or dirty S Pen tip can lead to recognition issues on your Samsung device. Over time, the tip may accumulate debris or become damaged, hindering proper contact with the screen and resulting in unresponsiveness or inaccurate input.
2. Screen Issues
Accumulated dirt, smudges, or scratches on your Samsung Galaxy S25 Ultra’s screen can disrupt the S Pen’s performance by obstructing the pen’s contact with the display. Moreover, thicker or lower-quality screen protectors may diminish screen sensitivity, making it challenging for the S Pen to register inputs.
3. Battery or Bluetooth Problems
The S Pen uses an internal battery to power advanced features like Air Actions, which let users control their device remotely. These features depend on both the battery and the Bluetooth connection. The S Pen’s advanced features will stop working if the battery runs out. Similarly, the S Pen may not respond properly if the Bluetooth connection is unstable or disconnected.
4. Software Bugs or Outdated Firmware
Bugs and glitches with the One UI 7 or outdated system software can cause issues with the S Pen’s performance on Samsung devices. For example, some firmware updates have been known to affect the S Pen’s accuracy and responsiveness, leading to inconsistent performance. Outdated firmware causes problems as well due to incompatibility.
5. Magnetic or Third-Party Interference
The Samsung S Pen utilizes Electromagnetic Resonance (EMR) technology to interact fluidly with the Galaxy S25 Ultra’s screen. However, strong magnets, such as those found in certain magnetic phone cases or mounts, are known to cause struggles with the S Pen. This magnetic interference can lead to issues like reduced sensitivity, unintentional Air Commands, or even complete unresponsiveness of the S Pen.
6. S Pen Misalignment or Malfunction
Proper insertion of the S Pen into its designated slot is important for a stable connection with your Samsung S25 Ultra. Misalignment can lead to charging issues, especially for models where the S Pen charges wirelessly when docked. Furthermore, using an incompatible or malfunctioning S Pen can result in recognition failures. Also, using the incorrect S Pen model may cause malfunctions as different models may not function interchangeably.
7. Calibration Issues
When the S Pen’s input is misaligned or unresponsive, it often indicates calibration issues within the device’s touchscreen firmware. An obvious sign is when the pointer doesn’t accurately reflect the pen’s position. These issues can arise after software updates or if the screen’s digitizer is slightly off.
8. Hardware Damage
If the device has been dropped or exposed to moisture, the digitizer (a particularly vulnerable part of the screen responsible for detecting touch and S Pen input) may be damaged. Furthermore, water damage can cause internal corrosion and damage components. This causes hardware failures, such as a malfunctioning microswitch in the S Pen holster, and prevents the device from recognizing the S Pen.
7 Troubleshooting Steps to Fix S Pen Connectivity Issues
Now that we know the eight potential causes for the Samsung S25 Ultra S Pen not being recognized, let’s walk through seven effective troubleshooting methods, starting with inspecting the S Pen and your S25 Ultra’s screen.
Step 1: Inspect the S Pen and Screen

Begin by examining the S Pen tip for any signs of damage or any lodged debris. A worn or dirty tip can impede proper contact with the screen. Next, clean the tip and the screen using a soft, lint-free cloth to ensure no obstructions can affect the S Pen’s responsiveness.
Step 2: Verify S Pen Battery and Connection
Make sure the S Pen’s battery is sufficiently charged, as certain features depend on it. Next, confirm that Bluetooth is enabled on your device.
To check the Bluetooth status:
Step 1: Swipe down from the top of the screen to open the Quick Settings panel.
Step 2: Look for the Bluetooth icon within the Quick Settings panel.
Step 3: Tap the Bluetooth icon to turn it on or off.
Step 4: When Bluetooth is enabled, the icon will be highlighted or show a different color, indicating that it’s active.
👍 Helpful Article: If you need a more detailed guide, we wrote a blog on how to properly connect Bluetooth accessories with the Samsung S25 Ultra.
Step 3: Restart and Reinsert
If your Samsung Galaxy S25 Ultra’s S Pen is not being recognized, a simple yet effective troubleshooting step is to restart your device and reinsert the S Pen. This process can refresh system processes and re-establish a proper connection between the device and the S Pen.
To restart your S25 Ultra, do the following:
Step 1: Press and hold the Power button and the Volume Down button simultaneously until the power menu appears.
Step 2: Tap on Restart.
Step 3: Confirm by tapping Restart again if prompted.
Step 4: Wait for your device to power off and back on.
Note: Restarting your device can resolve minor software glitches that may be causing the S Pen recognition issue.
To reinsert the S Pen, here’s a simple guide:
Step 1: Remove the S Pen from its slot once the device has restarted.
Step 2: Inspect the S Pen for any visible damage or debris.
Step 3: Carefully reinsert the S Pen into its slot until it clicks into place.
Note: Properly seating the S Pen guarantees that the device recognizes it and can establish a stable connection.
Step 4: Update Software

Keeping your Samsung Galaxy S25 Ultra’s software up to date is essential for optimal performance and can help resolve issues like the S Pen not being recognized. With the S25 Ultra supporting seamless system updates, future software updates will be streamlined for a less disruptive experience.
Updates are important as they often include bug fixes and improvements that enhance your device’s functionality. Here’s how to check for and install updates:
Step 1: Connect your device to a stable Wi-Fi network.
Step 2: Make sure your phone is at least 50% charged or plugged into a power source.
Step 3: From the Home screen, swipe up or down to access all apps.
Step 4: Tap on Settings. Scroll down and select Software update or System updates (depending on your device model).
Step 5: Tap Download and install or check for system updates.
Step 6: If an update is available, tap Install now. Your device will restart and begin installing the update.
Step 5: Reset S Pen Settings
If your Samsung S25 Ultra S Pen is not recognized, resetting its settings can often resolve connectivity issues. Resetting the S Pen will restore its default settings and help re-establish a proper connection between it and your device. To do this, here are the steps you need to follow:
Step 1: Open the Settings app on your Galaxy S25 Ultra.
Step 2: Scroll down and tap on Advanced features.
Step 3: Select S Pen from the list of options.
Step 4: Navigate to Air Actions.
Step 5: Within the S Pen settings, tap on Air Actions.
Step 6: Tap the More options icon (typically represented by three vertical dots) located in the top-right corner.
Step 7: From the dropdown menu, select Reset S Pen.
Step 8: Confirm the reset if prompted.
Step 6: Check for Interference
Magnetic interference from certain accessories can affect the functionality of your Samsung S25 Ultra S Pen. To prevent this from happening, start by removing any magnetic cases or covers. If you're using a magnetic case, take it off and test the S Pen again.
Next, detach any magnetic accessories, as these can also cause issues. Moreover, some screen protectors, especially those not designed for the Galaxy S25 Ultra, may reduce screen sensitivity and impact the S Pen’s performance. Try removing the screen protector and testing the S Pen directly on the screen.
Finally, test the S Pen in different areas of the screen, as magnetic interference can sometimes affect specific regions.
Step 7: Calibrate the S Pen

If your Samsung Galaxy S25 Ultra’s S Pen is not recognized or exhibits misalignment issues, calibrating it can improve its accuracy and responsiveness and might potentially solve any problems you’re having. To do a calibration, here are the steps you need to follow:
Step 1: Open the Phone app on your Galaxy S25 Ultra.
Step 2: Dial *#2663#. This command opens the Firmware Version window, which allows access to various firmware update options.
Step 3: On the Firmware Version window, tap on TSP FW Update (General). This action updates the Touch Screen Panel (TSP) firmware.
Step 4: After updating the TSP firmware, tap on WACOM FW Update (Kernel Binary). Allow the update to finish; this may also take some time.
Step 5: Once both updates are complete, restart your Galaxy S25 Ultra to apply the changes effectively.
If these steps don’t resolve the issue, consider contacting Samsung Support or visiting an authorized service center for further assistance.
For a detailed guide on troubleshooting S Pen connectivity issues, you can watch the following video:
Conclusion
Issues with the Samsung S25 Ultra S Pen not being recognized can be attributed to various factors, from simple dirt accumulation to more complex hardware problems. Systematically identifying and addressing these potential causes will allow users to restore their S Pen’s functionality and continue to enjoy the seamless experience it offers.
Products Featured In This Blog
Frequently Asked Questions
How can I check if my Samsung S25 Ultra S Pen has a low battery?
To check the battery level of your S Pen, go to your phone's settings, tap on "Advanced features," then "S Pen," and you should see the battery percentage. Alternatively, use the Air Command feature to check the battery status.
Does the S Pen need to be charged for basic functions like drawing or writing?
For basic functions like writing or drawing, the S Pen does not require charging. However, if you are using Air Commands or Bluetooth-related features (like remote control), the S Pen does need to be charged.
Can I use my Samsung S25 Ultra S Pen if it's broken or physically damaged?
If the S Pen is physically damaged, it may not function properly, and some features may not work. You can try using a replacement pen or contact Samsung support for a replacement.
Can I use a MagSafe case without interfering with the S Pen?
Yes, you can use a MagSafe case without interfering with the S Pen, but it depends on the case. Some MagSafe cases have strong magnets that might slightly affect S Pen responsiveness, especially near the edges. Choose a case designed for compatibility with both MagSafe and the S Pen for the best experience.
Related Readings


Written by Jenny
"Jenny is a fun-loving individual who enjoys immersing herself in stories, whether through books or films."